How To Prepare A Room For A New Paint Job
When it comes to painting any room in your home, it takes some preparation. You’re going to want to ensure you’ve covered all your bases so you don’t have to do the job over again, and since painting can be a tedious job, you want to get it done efficiently.
So, if you’d like to get the scoop on the best way to prepare before taking a stab at room painting, read on. You’ll be glad you did.
Summary
- 1. Clear the area
- 2. Cover big stuff and your carpets
- 3. Inspect and clean the walls
- 4. Sand the walls
- 5. Repairs cracks and other wall damage
- 6. Apply your tape
- 7. Apply your primer
- 8. Sand your walls one more time
- 9. Prepare your painting supplies
- 10. Start painting
1. Clear the area
Depending on how much furniture or clutter you have in your room, clearing it shouldn’t take too long. What I do is forget about organization and just get as much stuff out of there and into another room or hallway. It doesn’t matter. Your objective is to be as efficient and clean as possible so move that stuff out of there.
2. Cover big stuff and your carpets
If there is big or really heavy furniture like a large desk or bed, just cover it up, but do make sure you’ve covered it up good. You don’t want to deal with paint splatters all over your stuff. Also add a covering over your carpets. The best thing to cover your carpets with is with large sturdy plastic sheets so they can handle a lot of walking on, and if you’re not that messy, you can store them for another painting project later.
You’ll also want to put something on that you don’t mind getting paint on.
3. Inspect and clean the walls
If you want your new paint job to look good when you’re done, I advise that you clean them. Cleaning your walls is as simple as getting a little bowl or bucket of warm water and a dash of dish-soap. I don’t advise using any abrasive products and think soap and water will do just fine unless your walls haven’t been washed in 25 years you smoke in your home. See what this Brantford Painter had to do to get smoke stains out of the walls he was painting.
The main reason for cleaning your walls before you paint them is because after a time, certain substances will seep through the paint after a while after it’s dried. There is no worse buzz-kill than having to redo a paint job.
Get your soapy water, grab a little foot latter – start from the top and move your way downwards. It’ll only take about 8 minutes for an average size room and the results are definitely worth it.
4. Sand the walls
If you’re aiming for perfection, and quality you’ll have to sand your walls. Fine-grit sand-paper is cheap and sanding an average size room only takes about 20 minutes.
Sanding your walls before you paint them will give you the chance to passively inspect your walls for any cracks and irregular bumps. If there are minor bumps on your walls just take a few moments in that area and sand them down. Sanding makes your walls appear much more clear and smoother to the touch and indicates a quality paint job. It also helps the new primer to adhere to your walls. You’ll be sanding again but first we’ll have to deal with any cracks or indents first.
5. Repairs cracks and other wall damage
For whatever reasons, walls get damaged, and sometimes even crack on their own. When you’re starting a new paint job you’ll want to rectify any of these issues before applying the primer and the first coat of paint.
Damage and cracks can be quite easily repaired with a little putty and putty knife which can be bought for less then $20 bucks at a local hardware store. Instructions for repairing cracks and so forth are on the putty container, but applying it is simple. Place some putty on a piece of cardboard, smear it on your walls with your putty knife; try to make it as smooth as possible and let dry. Once it’s dried sand it down again until it’s flush with the wall and feels even to the touch.
6. Apply your tape
In an average size room, taping takes about 15 to 20 minutes and it’s a required part of the job. You could ignore taping but you’ll make nothing but a mess – unless you name is Picaso. So since it isn’t, grab that tape and apply it to your ceilings and pretty much cover your baseboards as much as you can. Taping will also contribute to making your paint job look like a professional one and will save you tons of time by helping you avoid having to remove all those paint splats out.
7. Apply your primer
If you’ve followed all the steps and made it this far, you’ve come to the happy moment – applying the primer. Priming is always fun if you’ve followed the steps because it’s the part where your walls start to look good. Your walls are cleaned, sanded, repaired and re-sanded smoothly, and now with every stroke of the brush the process starts to take shape. Everyone knows that primed-walls actually look pretty good and if your walls are properly prepared, the primed paint job is going to look great.
Applying primer is as easy as painting. If you’ve ever painted a wall before, you prime the exact same way. You don’t have to apply your primer in thick coats but to really drive your preparedness home, remember to let the first coat of primer dry and then add one more coat. Wall paint primer gives you a nice clean surface to paint on but more importantly it helps the paint adhere to the wall rather than being absorbed by the drywall which can really ruin the finish.
8. Sand your walls one more time
Dried primer will look nice, and look smooth but it won’t be as smooth as the final paint job, and it won’t look as smooth either. Although it’s almost indiscernible to the touch, primer does have a certain texture and if it’s not sanded down will be obvious to the naked eye after the final coat of paint has dried.
I promise you: after you’ve primed your walls and re-sanded them again, you’ll definitely notice the difference, and you’ll be shocked at how smooth your walls now are.
9. Prepare your painting supplies
OK, now you can bring all your painting supplies into the room and place them appropriately. Get your brushes ready, and start pouring your paint into the paint-tray. Make sure your step latter is handy, and all your bucks, sandpaper and primer paint cans are out so you’ll have enough room to do the work.
Start painting
Here is the moment you’ve been waiting for. You’ve got properly prepared walls and they’re ready for a fresh coat of paint. The final job is going to look amazing but you just need to get the paint applied.
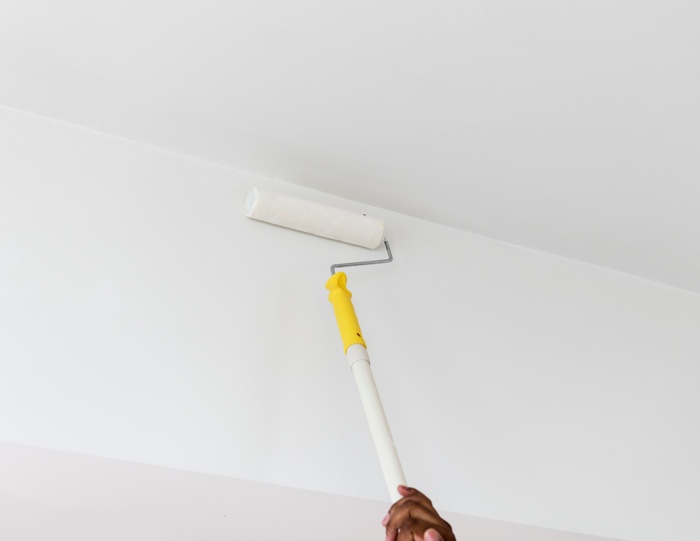
- Start with painting the ceiling where you’ve taped and at the base where you’ve taped over the baseboards
- Start painting your walls
For painting the ceiling and baseboards you can use a basic painting brush or if you’ve got some skills, you can use a roller. For both the ceiling and baseboard, paint only about 1.5 inches outwards starting from the tape.
Once you’ve painted all the trim, you can start on the main walls and like the priming job you did earlier, make sure to add a second coat of paint. If you’ve followed all the instructions laid out in this document, you won’t have to apply a third coat – 2 coats will be perfectly fine.