Tips On How To Make Your Own Water Maker
There are a host of reasons that you may want to create your own water maker. The most common reason in the U.S. is for the marine industry, i.e. boating and turning the sea water all around into fresh water. But there are many other circumstances, including regular travel to foreign lands, where fresh water may not be as readily available.
Purchasing a water maker can be an investment of $8,000 or more. With creating your own, the parts and creation can be under $5,000. If you are a handy person and feel comfortable taking up the task, this can be a huge cost savings. Also, just having the knowledge of the different components means the possibility of fixing it at a later date yourself, since you are the person who put the thing together in the first place.
Below are basic instructions on how to build your own water maker.
The basic of making your own water maker
The design of this water maker will be simple, which when it comes to creating drinking water, that is all that is really needed.
The creation of it and the science behind it should be kept as simple as possible but that doesn’t mean it isn’t effective. It will accomplish the basic process of using high pressure to force raw salt water through a reverse osmosis membrane.
Those are the fundamentals of making pure drinkable water. It will have an electronic controlled system flushing, monitoring of pre-filters, and automatic salinity monitoring that will reject non-fresh water. A knowledge of basic wiring and plumbing is needed.
There will be merely one electronic device. This is the salinity meter. One of the major benefits of the entire system is that each individual part can be replaced or fixed, so if there are ever any issues, repairing it should be relatively easy and straight-forward.
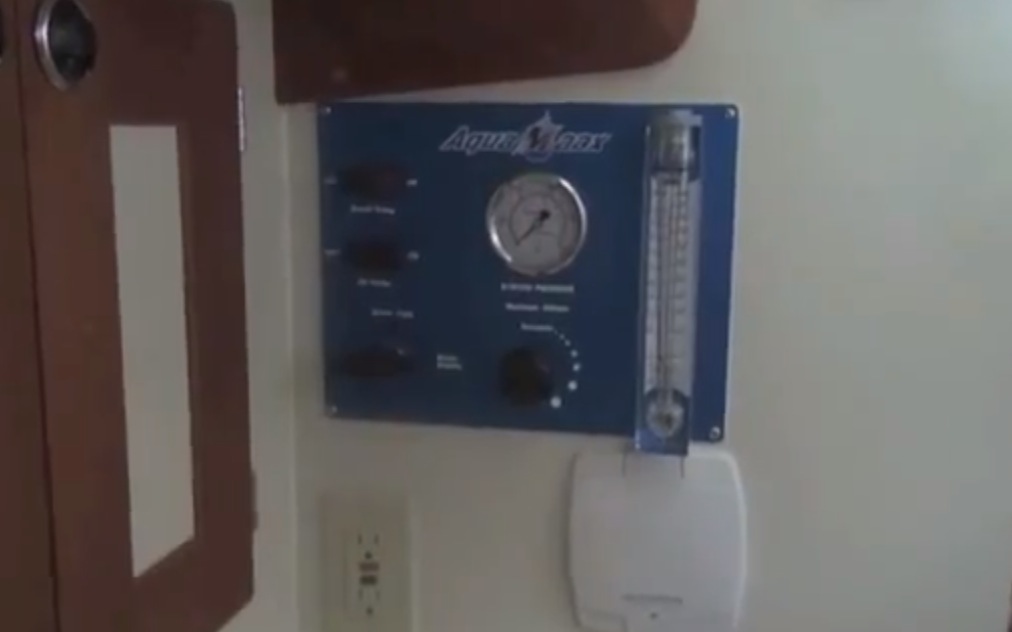
An FYI – when you purchase an Aquamaax water maker, you’re completely helped through the entire installation process until the installation is complete and working with your boat.
The components needed
- Through-hull. A basic through-hull will work. It should have a three quarter inch fitting and it should not be connected or shared with anything else. It needs to have an intake hose that has a size that is large enough so that it can effectively serve the pumps.
- Sea strainer. This is a screen that is connected to the through-hull by a line that should be a quarter inch in length. This is meant to capture any solids. In the case of sea water, this may be seaweed, dirt, or algae.
- Feed pump. This part is considered optional, but it is common. It will ensure that there are no airlocks in the system.
- A “Y” valve. This is for cleaning and pickling the system. That means bringing in a sodium metabisulfite solution, which “pickles” the membrane. A Y-valve is used so that it can pump the solution from a separate bucket.
- Pre-filters. This is more or less an ordinary household filter, which is likely to be a 20-30 micron filter. Sometimes this may involve a Y valve, which means the previous Y valve may not be needed, since the pickling solution may be filtered out through this pre-filter stage. Believe it or not, filter changing is the most frequent task when it comes to maintenance. Choosing a location for installing and uninstalling filters is an important part of making your life easier. Find places where there is space underneath the canisters so that you can remove and replace easily.
- Vacuum gauge. This is another optional component.
- High pressure pump. This should be a 1,500 psi running at 800 psi. There should be a way to monitor the pressure feeding the pump because if it gets dry it will damage the entire system. CAT pumps are often used and could work for this. A Jabsco 12VDC Water impeller pump is another option. And in some cases people have been known to use pumps that are normally used in large aquariums.
- Membrane and pressure vessel. This is the part that actually makes the water. The reverse osmosis membrane is a coil made of synthetic material that has a hollow core that has very small pores that doesn’t allow salt molecules to pass through it. The water on the other hand can pass through it, which makes extraction of salt content work. You should choose that has a sufficient pressure rating. You wouldn’t want to go with PVC housing since they will not be rated or sufficient for 800 psi. Fiberglass or stainless steel pressure vessels are the most likely options.
- Pressure gauge. This is connected to a high pressure line, and it should go to 1,000 psi. All of the wetted parts should be stainless steel. It needs to be glycerin-filled or at the very least have technology that can prevent the needle from moving around during the pulsating of the pump.
- Pressure valve. This allows for an optional bypass because you should not exceed 1,000 psi. It needs to allow the necessary pressure so that it allows enough water to pass through it. Engine-driven pumps will result in pump speeds that vary with the engine speed. That means the pressure will vary as well. The CAT 7370 is a recommended option.
- Another Y-valve. This last valve will discharge either overboard or to a cleaning bucket.
These components all together, joined in that order, can create a basic water maker that can benefit boating or other ventures. Each part can be researched individually to ensure that you have a water purification system that both stands the test of time but also is flexible enough so that each tiny stumble or problem can be fixed easily and with a firm understanding of how each part contributes to an end product that is pure fresh water.
